Wednesday, April 6, 2011

The Kitchen Sink


I love FOOD! Anything tasty! I like to eat healthy most of the time, fruits, veggies, homemade foods etc. etc. but I also try to spend as little amount of time in the kitchen as possible. Contradictory I know! The following few tricks have helped keep me out of the kitchen but  still able to eat at home and keeping on eating the things I love. I thought I would share some things that I do that make my kitchen work for me. These helped me to get through the first two months of new parenthood, I froze so many curries, lasagnas, and other easy to make dishes in the freezer the month before I delivered that I did not have to go out even once in the first two months of having a new baby. 
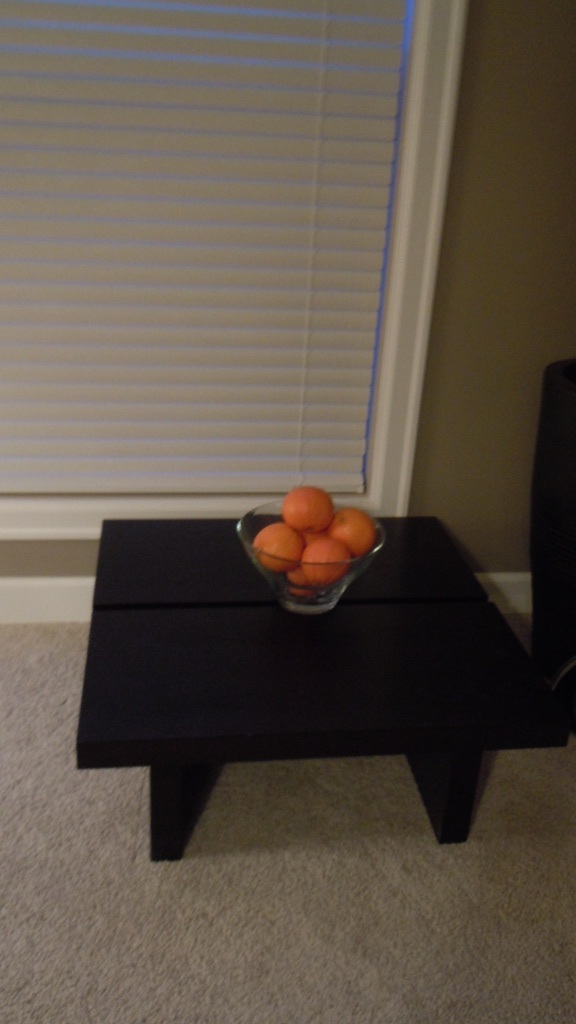
Firstly, we try to keep the kitchen clean and clutter-free!! I learned this the hard way from my husband! After hundreds of arguments with my husband about his ocd with kitchen and counter cleaning I have realized that having a clean kitchen does make a difference. And this means that we have very few appliances on the counters, a fruit basket, and a few canisters for sugar and tea but thats it! According to my husband and I agree, Cooking is an art and an artist needs his blank canvas to create his masterpiece.
Second, the dishwasher should be ready to fill at all times! Clean up is a cinch if you can fill the dishwasher as you cook!
Keep leftovers on the top shelf of the fridge! this way you never have containers full of that stuff you made last week in the back of the fridge.
Do an audit of the fridge once a week
-Repurpose leftovers as lunches or new entrees
-Take vegetables and fruits that have passed their prime and use them up the next day (this i do every second day)
- Take those leftover slices of bread and toast them up in the oven until they are dried out! Instant bread crumbs for chicken parmesan, chicken fingers, fish nuggets etc!!
Have an ongoing grocery list, if you see that something needs replenishing, WRITE IT DOWN! Its as simple as putting a paper pad on the fridge to save money and time at the grocery store!
Prepare Make –ahead dishes such as layered enchilada bake, shepherd’s pie, lasagne, curries and pizza dough ahead of time and keep in the freezer up to six months. Trust me these will come in handy on busy nights and days when you just don’t want to cook!!!
Ground Beef- I make a double dose of ground beef to make future spaghetti sauces, shepherd’s pies, keema and other recipes that much faster. I make them in a neutral flavour, a few spices, garlic, onions, salt and pepper! You can always season later!
I boil up some chicken breasts (approx. 2-3) at the beginning of each week to make lunches and soups easily in the middle of the week.

Finally, these are my pantry Staples (not necessarily in the pantry)
Frozen fruit (strawberries, blueberries, anything...)
Vinegar (regular, apple cider and balsamic)
Spices
Individual sized cubes of chicken stock (take chicken broth, put it in ice cube trays, freeze overnight, then pop out and save in freezer bag- use as needed)
Keep two-three types of nuts on hand for salads and snacks
Red Kidney Beans, Chickpeas, Black Kidney beans- great for soups, chilis, salads, casseroles, or dips
Store-bought pie shells- i buy the two pack and keep them frozen! They are so great for those last minute meals and to use up leftovers. Once, I had some leftover chicken stew, I thinned it out with a little bit of water, defrosted a pie shell till it was malleable, and laid the crust on top! Voila! A ten minute chicken pot pie! HOMEMADE!
Extra Virgin Olive Oil
One Package of cream cheese
EGGO or pancake mix – for easy breakfasts
Frozen vegetable medley
A couple of soup cans- cream of chicken, mushroom or broccoli
One or two pasta types
Chicken breasts- Frozen and packed in individual servings with two-three in each serving
Vanilla Yogourt with probiotics- for smoothies, yogourt parfaits, healthy pina coladas (next blog)
Tortilla Shells (I buy these at Costco and keep them frozen, and only take a few out at a time)
Now I ask you, do you have any tips or tricks in the kitchen that make your kitchen work for you?

Tuesday, February 22, 2011

Orange Bonanza!


Ive been away from the internet world for such a long time. Ive had so many projects on the go, what with redoing our bedroom, living room and nursery along with studying for my MCAT and taking care of baby. Anyways I have finally decided on one prominent accent colour for the living room. ORANGE!!! I have a very small space so I cannot add too many big pieces or too many knick knacks but I did add a few things. Two orange storage boxes to my already overfilled bookshelf, a couple of orange faux leather book ends, an orange lamp, a few orange throw pillows and an orange candle.  The lamp was previously a light green colour and all I did was I painted it orange! It was such a simple project and it added so much character to the room. Its perfect for the space. Then I placed it on top of an old chest which I had laying around in my storage and voila I have a revamped lamp and side table duo. The chest doubles as storage. I placed a few books on top of the chest (orange books... lol) and finally put an orange candle just to top it all off. What an easy way to add some colour and functionality to my space.
Do you want to decorate but want to do it on the cheap? Before you go out and shop for a whole bunch of accent pieces, I suggest you look around your house. Most people will have a number of vases and  trinkets lying around, collect these in one place. Decide on a theme, a colour, pattern, texture etc. But don’t be limited to the traditional accent pieces. Repurposing old pieces feels good... trust me...and remember anything can be given a new life with some paint.

Sunday, January 2, 2011

Ode to the Cloth Diaper


Oh Cloth Diaper! How I love thee
You are one with the earth because you are chemical free
Oh Cloth Diaper! You ease my mind
Because you are kind to my baby’s behind
Oh Cloth Diaper! You are so soft and fluffy
Just like my baby’s stuffed teddy
Oh Cloth Diaper! My baby and I are very lucky
To have you by our side
 
This is a bit corny, but I could not be more satisfied with my cloth diaper service! I thought that a poem would express my feelings best! 
thanks for reading,
Ameera

Thursday, December 30, 2010

Overripe Bananas

A couple of years ago, I decided that I would start to live green! I started with simple things like using up food before it had to be thrown into the garbage. I feel terrible when I have to throw food away, it is such a waste. My version of green living began with using up overripe bananas. After many attempts with banana bread and muffin recipes, I think I have finally mastered the banana nut muffin. Who should I have to thank for it?  None other than Food Network’s Tyler Florence. I actually think his cooking is much too complicated for everyday but he has really done a fantastic job with this recipe. Finally justice has been done to the overripe banana.  Granted I did make a few changes to the recipe after some experimentation but really the base of this recipe is perfect and you really cannot go wrong. If you are not comfortable baking, there is only one thing you should know: measure everything!!!! When I first started baking, I used to measure even a ½ teaspoon because I did not trust my own judgment. You’ll find as you cook more often, you develop a sixth sense for measuring but just for safety, I still measure out the flour, sugar and margarine ingredients.   So without further ado, here is the recipe:


You will need:
2 cups all-purpose flour
2 teaspoons baking soda
1/2 teaspoon salt
4 overripe bananas
1 cup brown sugar (you can use the packed brown sugar or the crystallized brown sugar; I  find the crystallized type mixes in way better)
3/4 cup margarine, melted (I melt the margarine in the microwave)
1 egg
¼ cup olive oil mayonnaise or any other type  (this makes the muffins super moist)
1 teaspoon pure vanilla extract
1/2 cup mixed nuts (a medley of almonds, walnuts, cashews, hazelnuts)

Directions:
Preheat oven to 375 degrees F and place muffin liners in a muffin tin. Out of this recipe I can usually get 12 big muffins.  
Combine the flour, baking soda, and salt in a bowl and set aside.
In another bowl, mash 2 of the overripe bananas with the back of a spoon so they still have a bit of texture meaning there should still be a few chunks of banana. Again this makes them super moist because you can bite into a nice gooey portion.
In another bowl, mash the remaining bananas completely and blend with the brown sugar. Usually the blending takes two to three minutes to make it into a light brown batter.
Add the melted butter, egg, mayonnaise and vanilla and beat well.
Next, mix in the dry ingredients (the first bowl) in three instalments. Between each addition, mix just until all the flour is combined. Next, add in the nuts and the mashed bananas and fold into the batter with a rubber spatula or a wooden spoon.
Spoon the batter into the muffin tins to fill them almost to the top.
Bake until a toothpick stuck in the muffins comes out clean, 18 to 20 minutes. Let cool for a few minutes before turning the muffins out. Serve warm or at room temperature.
I usually make dozen at a time and store them in a plastic container in the fridge. I always give one to my husband in his lunch bag for work. If you make little tiny ones in one of the smaller muffin pans, they would be fantastic for a tea party or if you are having people over for coffee. I have also served them alongside a frittata at a brunch. And the best part of this recipe is that the muffin is so much cheaper than buying one from Tim Hortons and the whole house smells like a bakery. What an aroma!

Question of the Day: Have you come across any awesome ways to use up your produce? Fruits? Veggies?

Hope this recipe finds you well!
Happy Baking!
Ameera