
But first let's talk about the revival. First there was the deconstruction and sanding which might I add took my hubbie over three and half hours per chair. Yes thats right! Three and half hours. Its only worth it when you look at them. I always make him do the sanding, I just can't stand all that sawdust.
 |
| Here is one, all deconstructed and ready for sanding. |
I went to sanding each chair to a sort of dull lustre and took a really fine grit sand paper to the natural edges. Mainly around the arm ends, leg detailing, and curved back. I used a walnut stain in these spots to add a nice brown highlight. After so many days of waiting and work, the whole look of the chair and vignette is priceless.


Now for the upholstery. Deconstruction was simple and in fact the upholstery job was also simple. Since the back of the chair is not fabric, it did not take so long. But I had to complete the piping. That took the longest time.

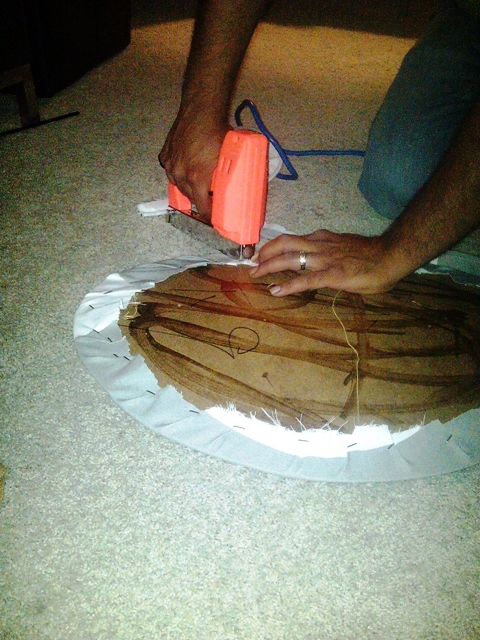
 I removed the piping from the pre-existing upholstery and used the templates to create the same look for own. Essentially, unstitch the piping out, trace pattern onto new fabric and add piping into new fabric but let’s just say much easier said than done.
The solution i came up with by the end. Use a safety [in to secure the piping into the fabric by poking it right into the rubber. It holds it in place so its easier to keep under control. I learned this lesson the hard way. Then of course a bit of stapling on the seat and gluing the back of the chair and the look was complete.

What do you think? Are they alright? The piping job is not perfect but it will do and after so much time spent on two chairs, I am truly exhausted. So far everybody who has seen them has loved them. Next up, the whole symmetry thing I hinted about a while back. I’ll reveal that look tomorrow!


No comments:
Post a Comment